
What are the crucial preparation steps to ensure effective repair of rust and corrosion on powder-coated metal components?
Effective preparation starts with assessing the affected area, removing loose powder coating and corrosion, and exposing a sound metal substrate. The surface should then be thoroughly cleaned and degreased, mechanically abraded where necessary, dried completely, and checked for remaining contamination before repair coating is applied.
Effective preparation for repairing rust and corrosion on powder-coated metal components is a controlled planning and inspection process that determines the extent of damage, the correct repair system and the conditions required for reliable adhesion. Preparation should begin before any coating work by establishing how the component is used, what caused the corrosion and which areas must remain dimensionally accurate or visually consistent.
Confirm the component’s specification. Record the component’s material, dimensions, service environment and required finish before selecting a repair method. Parts exposed to rain, road salts, industrial chemicals, condensation or high temperatures may need a different coating system from components used in a clean, dry indoor setting. The original coating type, colour, gloss level and texture should also be identified where a local repair or recoating is intended to match adjacent areas.
Check whether the part has a functional coating requirement as well as an appearance requirement. A component may need electrical insulation, resistance to abrasion, protection at sharp edges or compatibility with moving parts. These requirements affect the preparation specification and help prevent an otherwise sound repair from interfering with assembly or service performance.
Inspect the complete component, not only the visible rust. Corrosion may extend beneath apparently intact powder coating, particularly around joints, folded edges, fixing holes, welds, crevices and areas where water can collect. Examine both faces where accessible and identify blistering, lifting, cracking, staining, pitting, edge breakdown and corrosion around fasteners. A coating that appears secure at the centre of a panel may be compromised at its perimeter.
Measure or document damaged areas and photograph the component before work begins. Where corrosion has caused pitting, distortion or loss of section, decide whether the part remains suitable for coating repair or requires engineering repair or replacement. Coating can protect a prepared surface, but it cannot restore missing metal or correct structural damage.
Identify and eliminate the source of contamination. Oil, grease, hydraulic fluid, cutting residues, marking compounds, adhesive deposits and handling dirt can interfere with subsequent treatment. More importantly, recurring water ingress, poor drainage, damaged seals or contact between dissimilar metals can cause corrosion to return beneath a new finish. The underlying cause should be corrected or recorded as part of the repair scope, rather than treating the visible defect in isolation.
Salt deposits deserve particular attention on components used outdoors or near roads and coastal environments. They can remain in seams and recesses even when the main surface looks clean. Threads, drain points and enclosed sections should therefore be considered separately, with access provided wherever possible.
Decide how the component should be prepared as a whole. Local preparation may be appropriate where the defect is isolated and the surrounding coating is firmly bonded. More extensive damage, multiple corrosion sites or uncertainty about hidden deterioration may justify stripping and recoating the complete component. The choice depends on the condition of the existing finish, the geometry of the part, the required appearance and whether a consistent protective barrier is needed across all surfaces.
Disassembly should be considered before treatment. Remove detachable fittings, seals, bearings, electrical items, labels and components that could be damaged by preparation or coating. If dismantling is not possible, provide clear instructions for protecting sensitive areas and confirm which faces, holes, threads and contact points must remain free of coating.
Protect critical features before coating work. Masking plans should identify bores, threaded holes, mating faces, earth points, hinges, sliding surfaces and close-tolerance interfaces. Masking is not simply cosmetic: excess coating in these locations can affect fit, electrical continuity, movement or later assembly. The plan should also distinguish between surfaces that require a continuous protective finish and surfaces that must remain exposed.
Edges and transitions need special consideration. A sharp boundary between damaged and sound coating can leave a visible step and a weak point in the repair. The repair specification should define how the transition will be feathered and how edges, corners and weld areas will be treated so that the new coating is not excessively thin at vulnerable points.
Assess environmental and handling conditions. The component must be able to remain free from condensation, handling marks and renewed contamination between preparation and coating. Storage stands, lifting points and protective coverings should be selected so they do not damage the prepared surface. Components should be handled with suitable clean gloves after final preparation, since fingerprints and workshop residues can compromise coating adhesion.
Before proceeding, agree the acceptance criteria. These may include the permitted level of residual pitting, the required visual blend, coating thickness range, colour and gloss match, masking limits and inspection method. For repeat production or batch work, a written preparation standard helps ensure that each component is treated consistently rather than relying on visual judgement alone.
Use a trial area where compatibility is uncertain. If the existing coating, repair compound or proposed powder system is unknown, a small test area can help reveal adhesion, reaction or appearance problems before the complete component is processed. This is particularly useful where only part of the original coating is being retained or where the component has previously received several coating layers.
Finally, record the agreed scope, defects, retained features and any limitations before the repair begins. A clear inspection record allows the coating specialist and the customer to distinguish pre-existing metal damage from issues discovered during preparation, and provides a practical reference for future maintenance or repeat repairs.
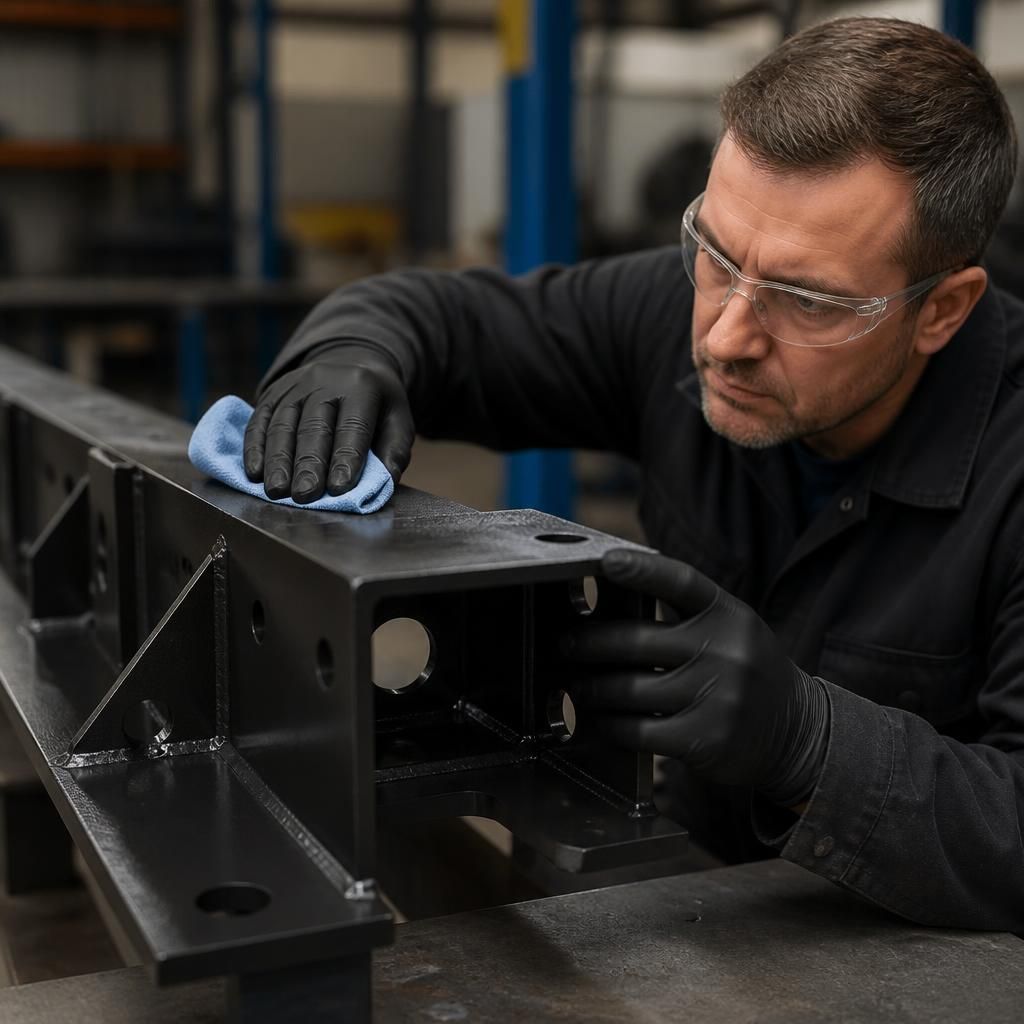
Final inspection is the control point between preparation and coating. Under suitable lighting, check that the exposed metal is free from loose corrosion, abrasive dust, oil, moisture and cleaning residues. Run a clean, lint-free cloth over the surface to identify remaining dust or contamination, and inspect recesses, welds, edges and masked boundaries separately. Any fresh flash rust, dampness or damaged preparation should be corrected before coating begins, because applying the repair system over a contaminated or unstable surface can undermine adhesion and leave corrosion active beneath the new finish.