
What considerations should be made when selecting a primer for powder coating repairs involving RAL 7047 powder coat?
When selecting a primer for repairs to RAL 7047 powder coat, assess its adhesion to the existing coating, compatibility with the repair topcoat, corrosion-protection requirements and suitability for the metal substrate. Because RAL 7047 is a light grey finish, also check the primer’s colour and opacity so it does not affect the repaired area’s final appearance or create visible variation.
Selecting a primer for a RAL 7047 powder coating repair involves more than choosing a light-coloured undercoat. The decision should account for the repair size, the condition of the surrounding coating, the preparation method, the primer’s curing requirements, the intended application method and the need to control the repaired film thickness.
Assess the extent and location of the damage
A small chip, a narrow scratch and a larger area of exposed metal may require different repair approaches. A localised defect can often be treated with carefully controlled preparation and application, while extensive damage may justify removing a wider section of defective coating before priming. Damage at corners, edges, drilled holes, welds or joints needs particular attention because these areas are more difficult to cover evenly and may be more exposed to impact or moisture.
Check whether the existing powder coating around the defect is firmly attached. Powder coating that is lifting, blistered or undercut should not simply be sealed with primer, as the surrounding failure can continue beneath the repair. Any loose material should be removed and the boundary of the sound coating clearly defined.
Match the primer to the preparation standard
The chosen primer must be suitable for the surface condition that can realistically be achieved. Remove rust, dirt, oil, salts and other contaminants before application. Abrading the exposed metal and the edge of the existing powder coating creates a more gradual transition and removes weak surface material. The prepared area should then be cleaned using a method that does not leave residue or introduce moisture before priming.
Where blasting, mechanical abrasion or chemical preparation is used, follow the primer manufacturer’s specified surface profile and cleanliness requirements. A primer designed for a clean, lightly abraded surface may not perform as intended over mill scale, firmly embedded corrosion or residual conversion-treatment chemicals.
Consider the primer’s cure and recoat window
Repair work is often carried out in a restricted area, so the primer must allow the next coating stage to be applied within its stated recoat window. Confirm whether it cures by solvent evaporation, chemical reaction or heat, and check the required conditions for each mechanism. If the primer is not sufficiently cured, the repair coat may soften it, wrinkle, remain tacky or lose its appearance.
Also check the maximum interval before recoating. Some primers require additional abrasion if they have cured beyond the permitted window. This is particularly important when components are moved between preparation, priming and finishing operations.
Control film thickness and edge transitions
Primer should provide the required barrier without creating a raised patch that remains visible through the RAL 7047 finish. Excessive build-up can produce a step at the repair boundary, alter the texture and affect the way light is reflected. Apply enough material to cover the prepared area consistently, but avoid flooding edges, corners and recesses.
Feathering the repair into the surrounding coating helps reduce a hard outline. The final topcoat should extend over the prepared transition in accordance with the repair system instructions. On visible panels, use a test area or sample piece where practicable to check the texture, sheen and boundary before completing the repair.
Check application equipment and access
Brush, roller, aerosol or spray application can produce different film characteristics. The method should suit the size and geometry of the defect and permit controlled coverage without excessive overspray or brush marks. Narrow sections, internal corners and fabricated assemblies may need a different technique from broad, flat faces.
Confirm the primer’s mixing, thinning, pot-life and nozzle requirements before starting. Two-component products require accurate proportioning and thorough mixing, while single-component products may have different limits on agitation and storage after opening. Do not add solvent or combine products unless the technical instructions permit it.
Consider masking and surrounding surfaces
Masking must protect adjacent areas without leaving an abrupt ridge or contaminating the repair. Tape should be applied to a sound, clean surface and removed at the appropriate stage for the chosen system. If the existing powder coating has a textured or fine-textured finish, the masking and blending method should be selected to minimise a visible change in surface character.
Protect threads, moving interfaces, drainage holes, electrical contact points and precision-fit areas from primer and topcoat build-up. These locations may need temporary plugs, shields or a deliberately defined repair boundary.
Review the repair environment
Although the primer’s formal product data provides the controlling limits, the work area should be assessed for condensation, surface temperature, airborne dust and ventilation. The metal and coating should be dry and sufficiently above the dew point to prevent moisture being trapped beneath the primer. Dust or overspray settling into a wet film can affect both the repaired appearance and the subsequent coating bond.
For components intended for external or demanding service, consider how the repaired area will be exposed to water, salts, abrasion, chemicals and impact. This helps determine whether a basic touch-up system is appropriate or whether the repair should be referred for a more controlled preparation and coating process.
Use documented product information
Before application, compare the primer’s technical data sheet and safety information with the repair specification. Confirm its permitted substrates, preparation requirements, induction time, curing conditions, recoat limits, recommended dry film thickness and limitations on use. Retain the product batch information and record the preparation and application stages where traceability is important.
A suitable choice for RAL 7047 repair work is therefore the primer that forms part of a controlled repair system, not simply the product that appears closest in colour. Surface preparation, controlled application, curing and the transition into the existing powder coating are all necessary to achieve a sound and visually consistent result.
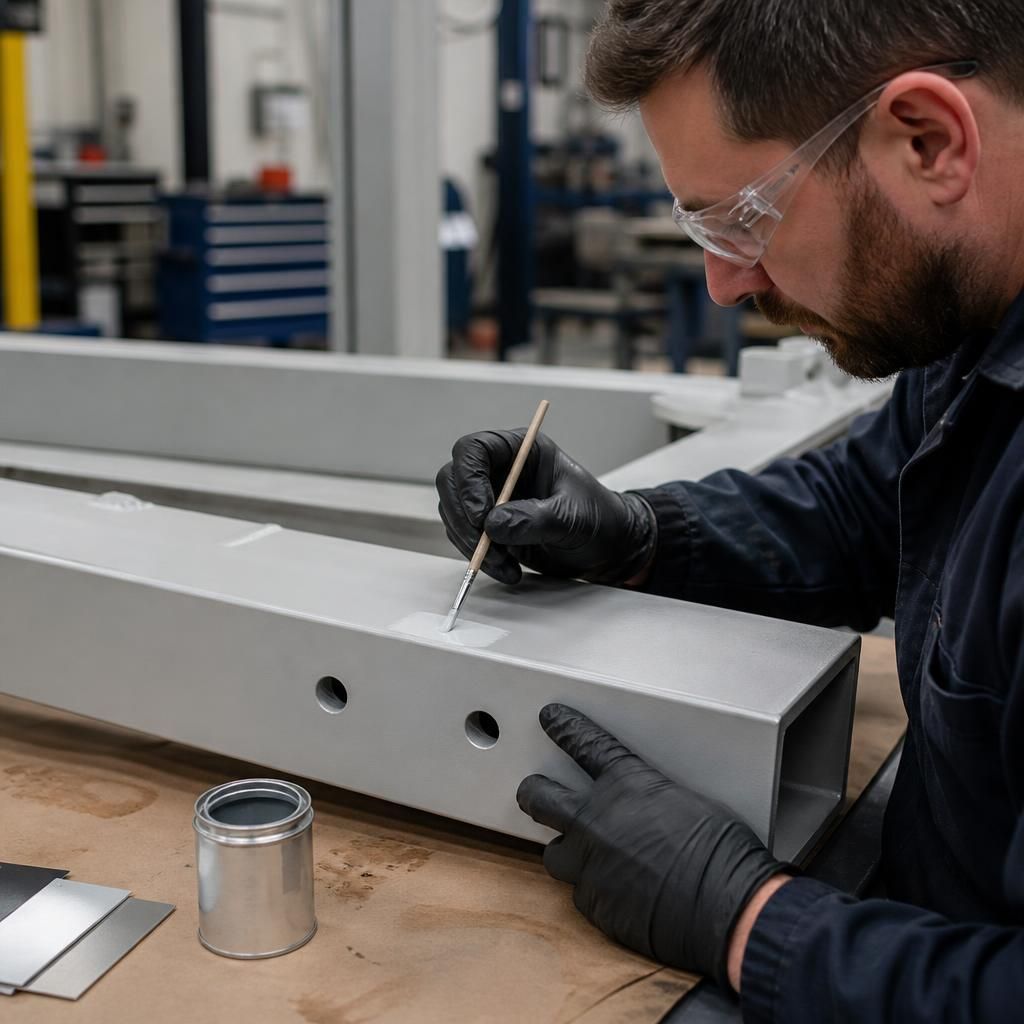
For a RAL 7047 repair, the primer should be selected as part of a system that can be verified after curing, not judged only by its wet appearance. The product information should state how adhesion and film integrity are to be assessed on the relevant substrate and beneath the intended repair coat.
Where practicable, trial the complete primer and topcoat sequence on a concealed area or representative sample. After the stated cure period, inspect the repair for lifting, pinholes, softening, blistering or loss of bond. Any adhesion check should follow the coating manufacturer’s specified method, since testing too early or using an unsuitable solvent or tool can give misleading results. This validation is particularly useful where the repair will be exposed to handling, abrasion or outdoor conditions.
Review Your RAL 7047 Repair Primer Requirements
Share the component details, substrate, damage extent and intended service conditions with a powder coating specialist to review the repair requirements. Powder-coatings.co.uk can advise on a suitable primer and repair approach for industrial components across the Midlands, with collection and delivery options available.