

What steps should be taken if there are uneven finishes in the powder coat primer application?
For an uneven powder coat primer finish, first inspect the affected areas and check film thickness, surface preparation, powder application, grounding and curing conditions to identify where consistency was lost. Correct the underlying fault, remove defective coating where necessary, and reapply the primer under controlled conditions before applying the finishing coat.
An uneven powder coat primer finish is a non-uniform layer in which coverage, texture, colour, gloss or edge build varies across the component. The correct response is to classify the defect, trace it to a specific stage of the process, then either blend and recoat a localised area or strip and reprocess the part where the variation affects protection or the final appearance.
Start by defining the type and distribution of the defect. Record whether the surface is thin, excessively thick, rough, smooth, dull, glossy, patchy or visibly textured. Its location is also informative:
- Variation across one face can indicate inconsistent gun movement, poor powder delivery or an electrostatic distribution problem.
- Heavy build on corners, recesses or internal angles is often associated with the Faraday cage effect, where charged powder has difficulty reaching shielded areas.
- Runs, ridges or pronounced edge accumulation suggest excessive local deposition or unsuitable gun positioning.
- Texture or gloss differences over the entire part may point to powder condition, substrate preparation or an incorrect thermal cycle rather than one isolated application pass.
Compare an affected part with an acceptable reference produced using the same powder system. If possible, retain photographs and process records showing the powder batch, substrate, preparation route, spray equipment settings and oven cycle. This helps separate a one-off handling error from a repeatable process fault.
Check powder delivery before changing application settings. Inspect the hopper, fluidising air, suction tube, hoses and gun for restrictions, moisture or unstable powder flow. Pulsing or surging delivery can create alternating heavy and light areas even when the operator maintains a consistent movement. Confirm that the powder is suitable for the primer system and has been stored dry and within the supplier’s specified conditions. Reclaimed powder should only be used where the coating system permits it, and it must be managed consistently; uncontrolled mixing of reclaimed and virgin powder can alter application behaviour and finish uniformity.
Review the spray technique next. Keep the gun at a consistent distance and move it at a steady speed, using a planned sequence that accounts for edges, corners and recessed sections. Excessive overlap between passes can create bands of heavy primer, while moving too quickly can leave translucent or poorly covered areas. Adjust powder output and atomising air carefully rather than making several changes at once. A controlled test panel or sample component makes it easier to identify which adjustment has improved coverage without creating a new defect.
For complex fabrications, change the application order so that difficult recesses and internal angles receive suitable attention before the broad faces. Avoid directing a dense cloud directly into a confined corner, as this can encourage back-ionisation or uneven deposition. Check that the part is presented consistently on its hanger and that contact points are clean and mechanically secure. A poor contact path can cause unstable electrostatic attraction, particularly where the defect appears around one section of a batch rather than across every component.
Confirm the primer film is compatible with the specified finishing system. A primer that is applied too heavily may retain solvent or volatiles, interfere with the final coat and exaggerate surface texture. A locally thin area may provide inadequate barrier protection even if the topcoat later hides the visual difference. Use a calibrated dry-film thickness gauge appropriate to the coating and substrate, taking readings at defined locations rather than relying only on appearance. Establish acceptance limits from the coating specification and the requirements of the finished component.
When the variation is confined to a small area and the primer remains sound, lightly abrade or prepare the affected section in accordance with the coating system’s instructions, remove dust, and feather the boundary before local recoating. A visible ridge should not simply be covered with another heavy pass. If the coating is broadly uneven, contaminated, poorly bonded or outside the permitted thickness range, local correction is unlikely to provide a reliable result. Remove the defective coating using a method that will not damage the substrate, then repeat the approved preparation and coating sequence.
Curing must be assessed using the metal’s actual temperature and the primer supplier’s specified time-temperature requirements, rather than oven air temperature alone. Uneven loading, poor air circulation or differences in component mass can leave sections of a part receiving different thermal exposure. Under-cured primer may remain soft or vulnerable, while excessive heat can change colour, gloss or surface texture. Use temperature probes or recorded profiling where the component geometry makes uniform heating doubtful, and allow parts to cool in a clean area before assessing the finish.
Before releasing corrected parts, carry out a documented inspection covering appearance, coverage, film thickness and cure. Where the primer is part of a multi-coat system, confirm that the surface is suitable for the topcoat and that recoating intervals and preparation requirements have been followed. A small test piece or first-off component should be approved before processing the remainder of a batch, particularly after changing powder, equipment settings, hanging arrangements or the oven programme.
Preventive control comes from making the successful conditions repeatable: standardise gun movement and application order, maintain equipment, monitor powder storage and delivery, define thickness locations, verify electrical contact, and record oven profiles for representative components. If uneven finishes recur despite stable settings, investigate the interaction between component geometry, powder formulation, pretreatment and curing rather than treating each visible patch as an isolated operator error.
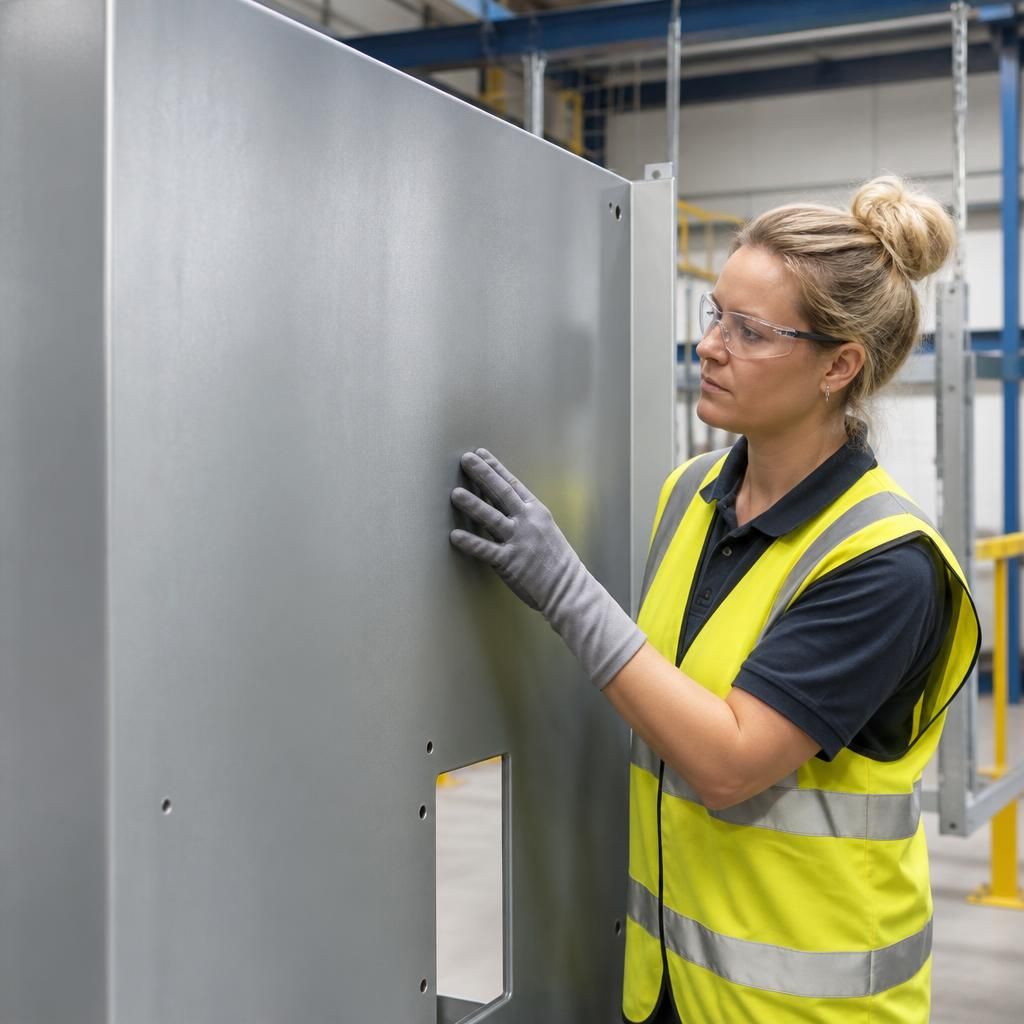
Before deciding that a primer has been applied unevenly, separate a genuine coating defect from an optical effect caused by the component. Reflective metal, weld transitions and changes in profile can make an otherwise consistent film appear patchy under directional lighting. Inspect the part under diffuse, consistent illumination and compare adjacent surfaces with the same geometry. If the variation is still evident by touch or remains after the part is viewed from different angles, treat it as a process issue and investigate the coating rather than attempting to correct the appearance with an additional cosmetic pass.