
What solutions are available if the powder coat primer blisters during curing?
If powder coat primer blisters during curing, stop the affected batch, identify whether trapped moisture, contamination, substrate outgassing or an incorrect cure cycle is responsible, then correct that cause before recoating. Depending on the severity, the remedy may involve stripping the defective coating, re-preparing and drying the metal, adjusting the application or curing process, and applying a fresh primer coat.
The correct solution depends on where the blister has formed and what is beneath it. A blister is a local loss of bond or a gas-filled swelling within the primer film, so the repair must address the affected interface rather than simply covering the raised area with more powder. A sound decision requires inspection of the blister, the exposed substrate and the surrounding coating before rework begins.
Establish the defect pattern first. Record whether the blisters are isolated or widespread, confined to welds, edges, cast areas or one face, and whether they appeared in the primer alone or after a subsequent coating. Large irregular bubbles can suggest gas or moisture release, while small repeated pinprick blisters may indicate contamination, excessive film build or volatile material trapped in the coating. If the defect occurs only on certain components, compare their material, preparation history and storage conditions with parts that cured correctly.
Carefully open a representative blister rather than removing every raised area immediately. Note whether the failure is between the powder and the metal, within the primer film, or between primer and topcoat. A clean, bright substrate beneath the lifted film points towards a bonding or contamination issue. Residue, discolouration, dampness or corrosion beneath the blister provides evidence about the underlying cause. Adhesion checks around the defect can help determine how far the failure extends, but they should be carried out using a method suitable for the coating system and component.
Choose the repair extent based on the evidence.
- For a genuinely isolated defect with firm surrounding adhesion, remove all loose and undercut coating, extend the repair to sound material, and feather the perimeter so a raised edge is not reproduced.
- For multiple blisters, poor adhesion around the affected area or evidence that the substrate is contaminated, remove the complete defective coating from the component or affected section. Local touch-up over unstable film normally leaves the original failure in place.
- For widespread blistering across a batch, hold the batch for investigation rather than repairing parts individually. Reworking every component before identifying the common process fault can conceal the cause and create inconsistent finish thickness.
After stripping, the metal should be inspected for rust, embedded abrasive, oil, salts, conversion-treatment residue and other surface residues. Welds and fabricated joints deserve particular attention because spatter, sharp transitions, weld-cleaning residues and small crevices can retain contaminants or moisture. Cast or porous components may need a suitable pre-treatment and outgassing procedure because material released from pores during heating can lift a freshly applied primer. The appropriate treatment depends on the substrate and the powder system; it should be confirmed against the coating manufacturer’s technical information.
Control moisture and storage conditions. Components should be clean and fully dry before coating. Water can remain in seams, threaded holes, recessed sections and porous surfaces even when the main face appears dry. Parts that have been exposed to condensation, wash solutions or damp storage should be dried and checked before entering the coating process. Packaging, racks and handling equipment should also be clean enough not to reintroduce moisture or contamination after preparation.
Review primer application separately from oven curing. Excessive primer film build can retain volatiles and increase the likelihood of bubbling, particularly around corners, recesses and areas where powder accumulates. Check gun settings, powder flow, air supply, earthing, spray distance and the number of passes. Poor atomisation or an unstable powder cloud can produce an uneven deposit that behaves differently during heating. The applied film should be checked at representative points, including edges and difficult-to-reach areas, rather than judged only by appearance before curing.
Verify the curing process using the temperature of the metal component, not just the displayed oven temperature. Oven air may reach its set point while a heavy fabricated part remains below the required metal temperature, or a thin section may heat much faster than a thick one. Check the oven’s temperature uniformity, airflow, loading pattern and calibration, and confirm that the complete primer film reaches the specified cure window. Under-cure can leave poor cohesion or adhesion; excessive heat or an unnecessarily long cycle can also damage the coating or increase gas-related defects.
Where a primer is followed by another powder layer, confirm the intercoat requirements. Some systems are designed for a full cure before overcoating, while others are intended for a specified partial-cure or direct-to-metal sequence. Applying a second layer outside that process can trap gases, interfere with bonding or alter the final cure. The primer and topcoat should therefore be treated as one validated coating system rather than as unrelated products.
Use a controlled trial before releasing production. On a representative, correctly prepared component, apply the proposed repair process to a small trial area or test piece. Record substrate preparation, powder application settings, film thickness, component temperature and cure conditions. Examine the result after cooling and carry out appropriate adhesion and appearance checks. If the trial still blisters, change one process variable at a time so that the cause is not obscured by several simultaneous adjustments.
Prevention is strongest when the process is documented at the points most likely to vary: incoming material condition, cleaning and preparation, drying, primer film build, oven loading, metal temperature and final inspection. Retain a sample or photographs of recurring defects and compare them with process records. This helps distinguish a coating-material issue from a substrate or preparation issue and makes it easier to decide whether a batch should be locally repaired, fully stripped or rejected for further investigation.
For complex fabricated parts, porous castings, galvanised surfaces or recurring blistering, an industrial powder coater can assess the substrate and coating build together. A specialist Midlands coating service can also review whether the component is suitable for collection, preparation, re-application and delivery as part of a controlled B2B rework process.
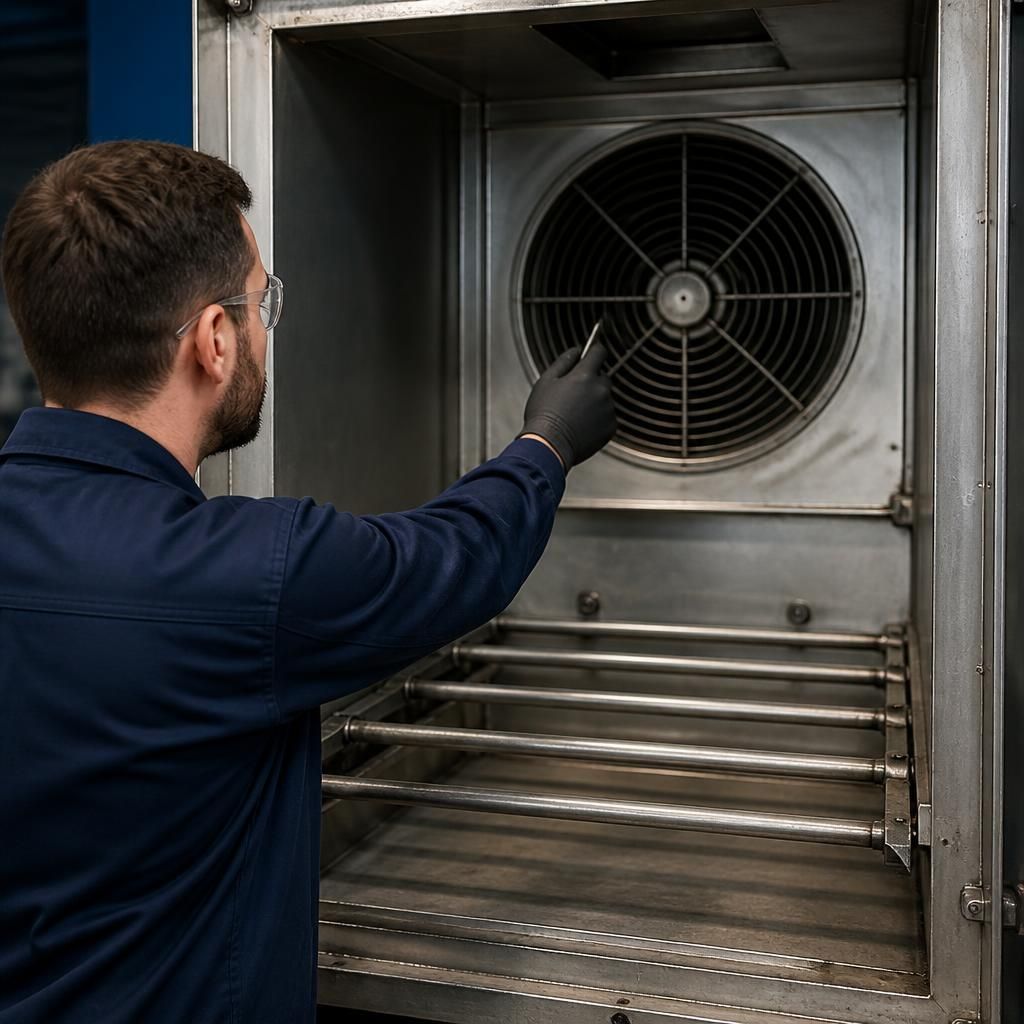
Oven ventilation should be checked when powder coat primer blisters during curing, particularly if the defect appears across otherwise well-prepared components. Heating can release moisture and other volatile material from the coating, substrate or residues. If the oven’s extraction is obstructed or the airflow is unsuitable, those vapours may remain around the parts and contribute to bubbling or surface disruption.
Inspect ventilation paths, filters and airflow as part of the investigation, while checking that combustion products or airborne contamination cannot enter the curing area. Compare results with a controlled trial using clean, dry test pieces. Any ventilation adjustment should be validated alongside the specified cure cycle rather than used to compensate for excessive film build, damp components or inadequate preparation.