
How can you identify and correct common surface contaminants that affect powder coat primer adhesion?
Common contaminants that reduce powder coat primer adhesion include oil, grease, dust, moisture, corrosion residue, salts and silicone-based products; identify them through visual inspection, water-break testing and process checks. Correct the problem by degreasing, abrasive or chemical preparation suited to the substrate, thorough rinsing and drying, then preventing recontamination before primer application.
Surface contamination affects powder coat primer adhesion when a foreign film prevents the primer from wetting, chemically bonding to or mechanically gripping the prepared metal. Reliable correction therefore involves more than cleaning the visible defect: the contaminant’s source, the point at which it entered the process and the condition of the substrate underneath must all be established.
Start with the failure pattern. Adhesion loss confined to handling points may indicate transfer from gloves, lifting equipment, racks or packaging. Defects repeated across an entire batch suggest a shared process source, such as a contaminated wash stage, rinse carryover, compressed-air system or coating enclosure. Random craters, fisheyes or areas where powder pulls away can indicate a low-energy residue, while a clean-looking surface that fails adhesion testing may contain a thin, invisible film.
Compare affected parts with an uncontaminated control part or a freshly prepared test panel. Record the part location, production stage, operator handling, rack position and time since preparation. This process mapping helps distinguish contamination from other causes of poor adhesion, including an unsuitable primer, excessive surface smoothness, inadequate curing or a substrate that was not compatible with the preparation method.
Use targeted checks rather than relying on one visual examination. A solvent-wipe comparison can reveal residues that are not apparent under normal lighting, provided the solvent is compatible with the metal and the assessment is carried out under suitable safety controls. A clean, white, low-lint wipe can help show transferred oil, pigment or handling residue. Where low-energy films are suspected, a small controlled test area can be compared with an untreated area after preparation. Adhesion should then be assessed only after the primer has been fully cured, using the method and acceptance criteria specified for the component.
Also inspect the process equipment. Check whether air lines introduce oil or moisture, whether abrasive media has become loaded with workshop residue, and whether hooks, racks, masks or protective packaging are transferring material back onto prepared parts. Review wash-tank condition, chemical concentration, temperature, filtration, rinse quality and carryover between stages. A sound cleaning stage can still produce poor adhesion if parts are placed on dirty supports or handled with contaminated gloves afterwards.
Correct the root cause before preparing replacement parts.
- Quarantine affected components and identify the last stage at which their condition was known to be acceptable.
- Clean or replace contaminated racks, hooks, masking materials, gloves, wipes, spray equipment and other contact items.
- Check compressed-air cleanliness at the point of use, particularly where air is used to blow down or dry components.
- Remove contaminated process liquids, refresh filtration where applicable and verify each treatment stage against its controlled process limits.
- Keep prepared metal separated from fabrication areas, lubricants, aerosols, dust-producing work and unnecessary handling.
- Use a defined hold and transfer procedure so that prepared parts move directly into primer application without avoidable exposure.
The cleaning or preparation method must suit the substrate and the contaminant. Aluminium, galvanised steel and previously coated metal can react differently to aggressive chemicals or abrasive treatment, so the selected method should be confirmed against the substrate specification and the primer supplier’s technical guidance. Do not assume that a stronger treatment is safer: it may alter dimensions, remove a conversion layer, damage a zinc surface or leave a new residue that creates another adhesion problem.
After correction, prepare a representative test piece using the same handling, pretreatment, primer application and curing conditions as the production components. Inspect the film for craters, fisheyes, lifting, edge pull-back and localised adhesion loss. If the test fails, stop repeating the same cleaning cycle and reassess the contamination source, because repeated reprocessing can leave residues or obscure the original failure.
Rework decisions depend on the existing film. If the primer has poor adhesion, applying another layer over it generally does not restore a sound bond. The affected coating should be removed by a method suitable for the substrate, followed by a fresh preparation sequence. If contamination is confined to an uncoated area, local correction may be possible, but the surrounding surface must be checked for weakly bonded material and transition marks before recoating. Components with embedded residue, corrosion or uncertain substrate condition may require complete stripping and reprocessing rather than a cosmetic repair.
Prevent recurrence by documenting the contaminant, likely source, corrective action, test result and release decision. A simple batch record linking the part to its preparation stages makes recurring patterns easier to identify. Where several suppliers or fabrication operations are involved, include information about cutting fluids, forming lubricants, weld residues, temporary corrosion protection and packaging materials in the incoming inspection. This provides a practical control point before contaminated parts enter the powder coating process.
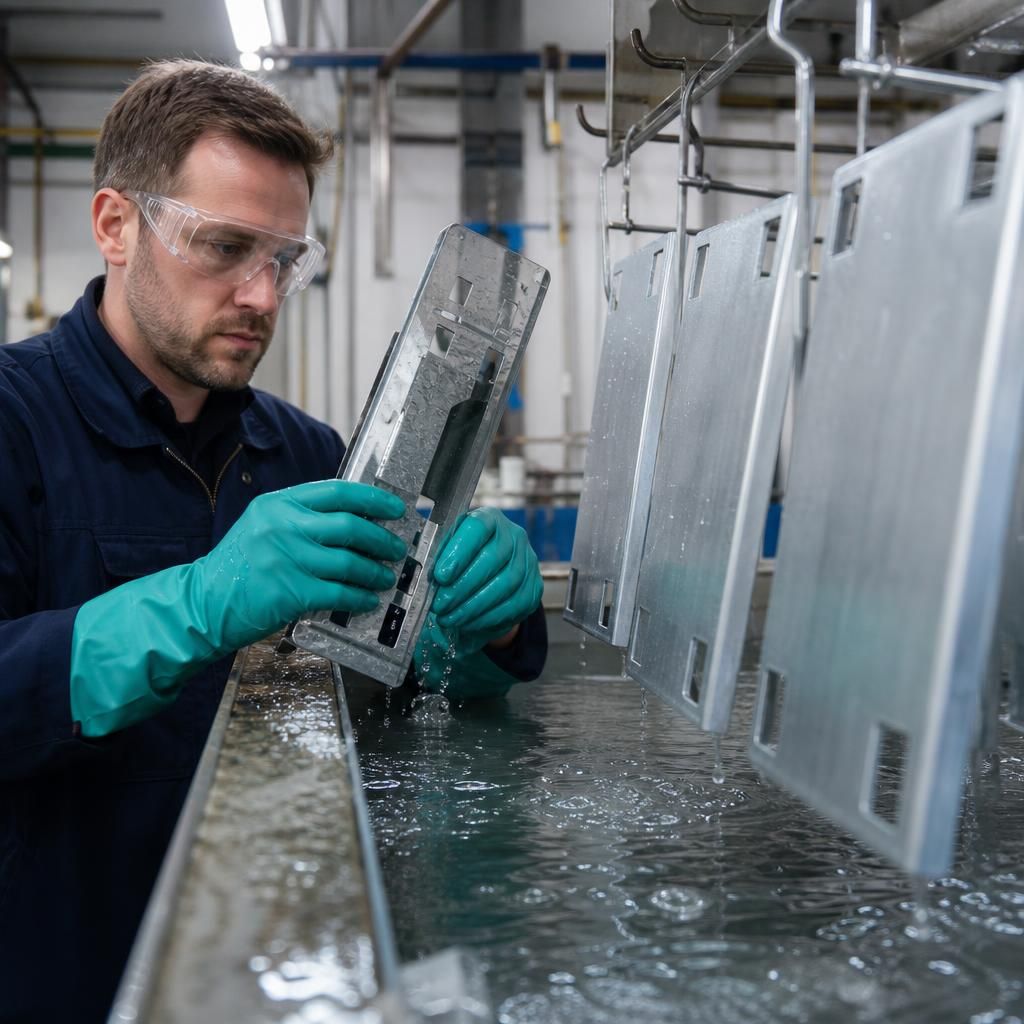
Water-soluble salts can remain on metal after cleaning even when the surface looks bright and free from oil. They may come from fabrication residues, treatment chemicals or inadequate rinsing, and can attract moisture beneath the primer. This can lead to local adhesion loss, blistering or corrosion developing under the coating.
Check the rinse stage as part of the investigation rather than inspecting only the component. Look for chemical carryover, poor drainage, blocked spray nozzles, contaminated rinse water and recessed areas where liquid can collect. Parts should be rinsed thoroughly using a controlled process, positioned so water drains away, and dried completely before primer application. If salt contamination is suspected, compare a suspect part with a correctly rinsed control and review the rinse-stage records and process checks before releasing the batch.