
What factors should be considered when determining the optimal curing and bake times for different types of powder coatings?
Optimal curing and bake times depend on the powder coating’s chemistry and specified cure schedule, the metal component’s thickness, mass and geometry, and the convection oven’s airflow, loading and temperature accuracy. The key control is the part’s actual metal temperature throughout the cure, rather than relying only on the oven air reading, so the coating reaches its required temperature for the specified duration.
The optimal powder coating cure schedule is determined by the coating system’s permitted cure window, the time required for every part area to reach the specified metal temperature, and the conditions that can alter heat transfer or film chemistry. A reliable schedule must achieve sufficient cross-linking without exposing the coating or substrate to unnecessary heat.
Start with the coating’s technical data
The product technical data sheet should be the primary reference. It normally identifies the recommended cure temperature, minimum and maximum cure limits, and the required time at temperature. The stated time generally begins when the coated metal—not the surrounding oven air—has reached the specified temperature. This distinction is important when a part has substantial thermal mass or contains areas that heat more slowly.
Some powder systems have a relatively narrow processing window, while others tolerate a wider combination of temperature and time. Epoxy, polyester, hybrid and specialist protective formulations can respond differently to heat. The coating chemistry therefore needs to be considered before adapting a schedule from another product, even if both powders are applied to similar components.
Allow for the applied film
Film thickness affects both appearance and curing behaviour. A heavy application can require more heat to pass through the film and may produce defects if the powder is applied beyond its recommended range. Excessive thickness can contribute to runs, orange peel, pinholing or loss of surface definition, while an excessively thin film may not provide the intended protection or appearance.
Where a component has different target thicknesses, the schedule should be checked against the most demanding coated area. Measurements taken from representative faces, edges and recesses can identify whether application variation is influencing the result rather than the oven schedule itself.
Consider the substrate and any assembled features
Material composition can affect heat transfer. Steel, aluminium, galvanised components and mixed-metal assemblies do not necessarily reach the curing temperature at the same rate. Joints, folded sections, boxed sections, brackets, inserts and mechanically joined parts can create thermal differences within one item. Non-metallic fittings, seals or trapped materials may also impose temperature limitations, even where the powder itself can tolerate the schedule.
Parts should be assessed in the same configuration in which they will be cured. Removing an insert or coating a component individually may produce a different thermal result from curing the finished assembly. Any masking materials, plugs or temporary fixtures must also be suitable for the selected temperature and dwell period.
Distinguish heat-up time from cure time
A common scheduling error is to treat the oven set point as the start of the cure. The component first absorbs heat and then enters the specified curing period. The heat-up stage can vary substantially between a light bracket and a dense fabrication, so a fixed timer alone may not provide consistent results across a mixed batch.
The schedule should also account for the temperature profile during heating. A rapid rise may be unsuitable for some assemblies or for parts containing trapped air and moisture. Conversely, an extended period below the cure threshold does not necessarily replace the required dwell at temperature. The coating’s stated cure curve should be followed rather than assuming that a longer overall oven residence automatically provides an equivalent result.
Check preparation and surface condition
Curing time cannot correct problems introduced before the powder enters the oven. Residual oil, cleaning chemicals, moisture, abrasive dust, oxides or unsuitable conversion treatment can interfere with adhesion and appearance. Hollow sections and cavities require particular attention because they can retain moisture or contaminants and may heat differently from exposed surfaces.
Drying after pre-treatment should be sufficient for the part and its geometry. Where components have been stored in cold or damp conditions, their initial condition may alter the early part of the heating cycle. The substrate should be clean and dry before powder application, with the preparation process selected for the metal and the service requirements of the finished component.
Validate the complete temperature profile
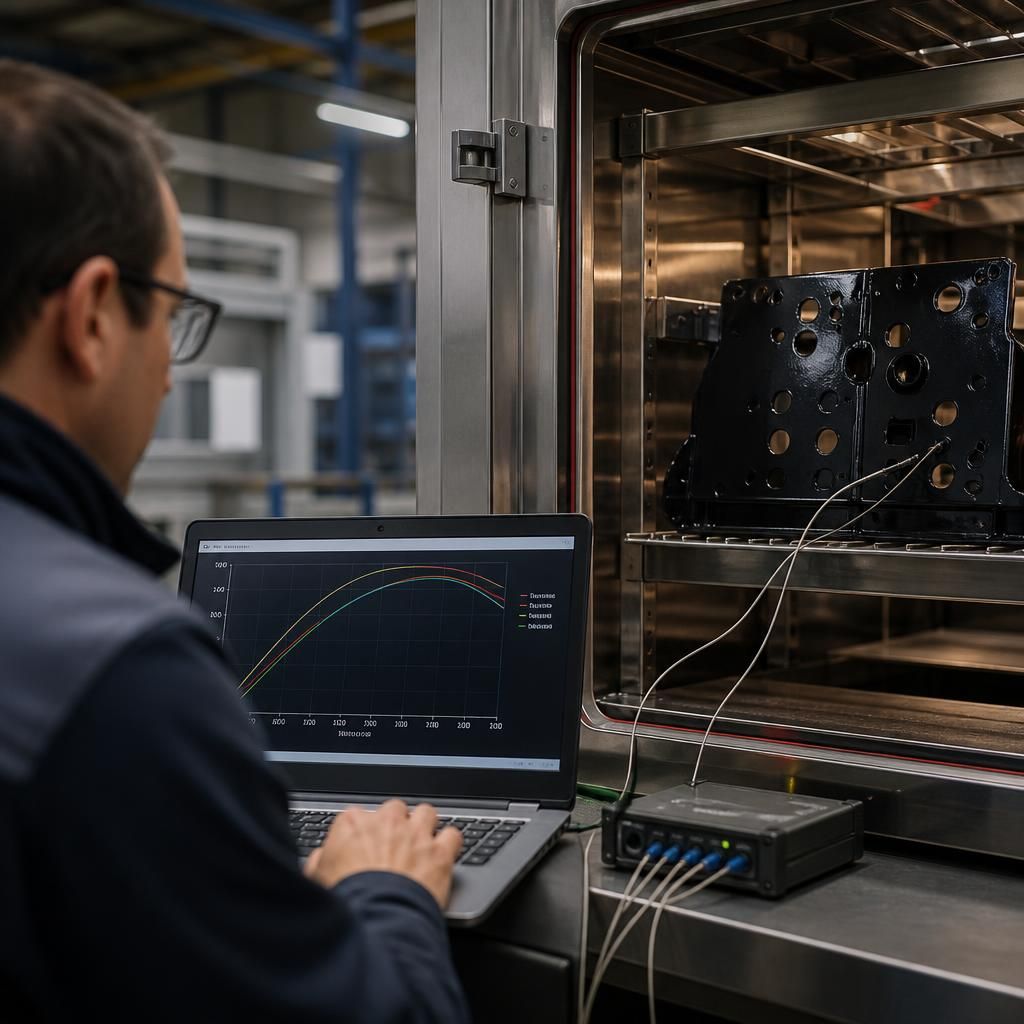
Oven air probes confirm the environment, but they do not establish the temperature of the coating on the slowest-heating part. For a new component, new powder or changed load pattern, temperature-recording equipment can be attached to representative locations. Probes should include areas likely to heat last, such as thick sections, enclosed features, shaded faces and positions furthest from the main airflow.
Validation should cover the full heating and dwell cycle, not just a single temperature reading. Repeat checks may be needed after changes to racking, part spacing, batch size, powder thickness, conveyor speed or oven settings. Calibration of sensors and recording equipment is also important, because an inaccurate measurement can lead to systematic under-curing or over-baking.
Balance under-curing and over-curing risks
Insufficient cure can leave the film with reduced hardness, adhesion, chemical resistance and mechanical performance. It may also affect the coating’s ability to withstand handling or service conditions. Over-curing can cause yellowing, loss of gloss, brittleness, colour change or degradation of the coating, particularly where the material is held at high temperature for longer than necessary.
The correct decision is therefore not simply to increase temperature or extend the timer when a finish appears inconsistent. First identify whether the cause is inadequate heat reaching the part, uneven application, contamination, incorrect powder selection or an oven-control issue. Test pieces and production samples should be assessed for appearance and relevant performance requirements before a revised schedule is adopted.
For repeat production, the approved powder, application range, part configuration, racking method and validated temperature profile should be documented together. This creates a reproducible process and makes it easier to investigate defects when a batch, substrate or component design changes.
Temperature and time should be treated as a linked cure profile, not as independent settings. A powder coating’s chemistry determines how quickly cross-linking develops at different temperatures, so a lower oven temperature cannot automatically be offset by adding an equivalent amount of time. Use the manufacturer’s cure curve to assess permitted combinations and keep the component within the stated processing window.
Where an alternative schedule is necessary, confirm it with a representative trial part and assess the finished film for appearance, adhesion, hardness and the relevant service requirements. This is particularly important when changing from one powder formulation to another, because apparently similar coatings may require different heat exposure to achieve the intended performance.
Discuss your powder coating curing requirements
If you need to establish a suitable curing approach for a particular component, discuss the coating specification, substrate, dimensions and assembly details with our powder-coating team. These details help determine the factors that should be assessed before production coating.